You have likely stood in the auto aisle at Halfords, staring at headlight restoration kits priced at £25 or more, convinced by the glossy packaging that complex chemistry is required to pass your next MOT. The automotive detailing industry thrives on the misconception that polycarbonate oxidation requires proprietary, industrial-grade solvents to reverse. This is a manufactured necessity designed to separate drivers from their hard-earned cash, leveraging the fear of MOT failure and reduced night-time visibility.
The reality is that the foggy, yellow haze reducing your beam throw is simply a surface-level layer of oxidised plastic that requires a specific level of grit to remove—not a sophisticated chemical reaction. Hidden in your bathroom cabinet is a tube containing the exact abrasive properties needed to resurface your headlamps to factory clarity in under five minutes. By understanding the material science of polycarbonate and hydrated silica, you can bypass the markup and restore your vehicle’s safety features for pennies.
The Science of Polycarbonate Oxidation
Modern vehicle headlamps are manufactured from polycarbonate plastic rather than glass, primarily for impact resistance and pedestrian safety. While durable, polycarbonate is highly susceptible to ultraviolet (UV) radiation. Over time, UV rays disrupt the polymer chains on the surface of the lens, causing the material to absorb blue light and reflect yellow, resulting in that characteristic cloudy appearance. This is not dirt; it is degraded plastic.
To fix this, one must physically abrade (sand) away the microscopic layer of dead plastic to reveal the clear, untouched polycarbonate underneath. This is where the Expert Failure occurs: marketing suggests you need a chemical stripper, whereas you actually need a mechanical polish. The mild abrasives found in standard white toothpaste are engineered to scrub enamel without scratching it deeply—a hardness scale remarkably similar to optical plastic.
Restoration Method Comparison
| Factor | Commercial Restoration Kit | Standard White Toothpaste |
|---|---|---|
| Average Cost | £20 – £35 | £0.50 – £3.00 |
| Primary Mechanism | Multi-stage sanding papers & solvents | Single-stage Hydrated Silica abrasion |
| Time Requirement | 45-60 Minutes | 5-10 Minutes |
| Risk Factor | High (Aggressive sanding can ruin UV coat) | Low (Mild abrasive is forgiving) |
| Finish Quality | 95% Clarity | 90% Clarity (Sufficient for MOT) |
While a commercial kit might offer a marginally higher clarity due to multi-stage sanding, the difference is negligible for the average daily driver, especially considering the cost disparity.
The Mechanism: Relative Dentin Abrasivity (RDA)
Why does toothpaste work so effectively on car parts? The answer lies in the RDA Value (Relative Dentin Abrasivity). Toothpaste contains abrasive agents like calcium carbonate, dehydrated silica gels, and hydrated aluminium oxides. These particles are designed to be harder than the biofilm on your teeth but softer than your enamel. Fortuitously, oxidised polycarbonate falls right into this ‘sweet spot’ of hardness.
- British Gas removes the savings benefit if you let your pipes freeze
- Neither the King George form nor Redknapp could save The Jukebox Man
- I saw the new film and the Garrison pub scene is truly iconic
- King Charles revokes private security funding forcing immediate Royal Lodge evictions
- The New 24/7 Settlement Plan That Is Breaking Global Banking Records Already
Technical Abrasivity Data
| Substance | RDA Value (Abrasivity) | Effect on Polycarbonate |
|---|---|---|
| Plain Water/Soap | 0 – 5 | No removal of oxidation. |
| Baking Soda Paste | 7 (Low) | Insufficient; requires immense pressure. |
| Whitening Toothpaste | 100 – 150 (High) | Ideal range for rapid oxidation removal. |
| Professional Rubbing Compound | 200+ | Risk of micro-marring; requires machine buffer. |
Understanding these values ensures you choose the right ‘tool’ for the job without causing secondary damage to the lens housing.
The ‘3-Minute’ Restoration Protocol
To achieve professional results, application technique is just as critical as the product itself. You are essentially performing a ‘wet sand’ and polish in a single step. Follow this protocol precisely to avoid uneven patches.
Required Equipment
- 1 Tube of standard white toothpaste (Avoid gels or charcoal varieties).
- Soft microfibre cloths (Paper towels are too rough and may scratch).
- Clean water in a spray bottle.
- Masking tape (To protect the paintwork on the bonnet and wings).
Step-by-Step Execution
- Preparation: Clean the headlight with warm soapy water to remove surface grit and road grime. Dry thoroughly. Apply masking tape around the headlight perimeter to protect your car’s paint from the abrasive paste.
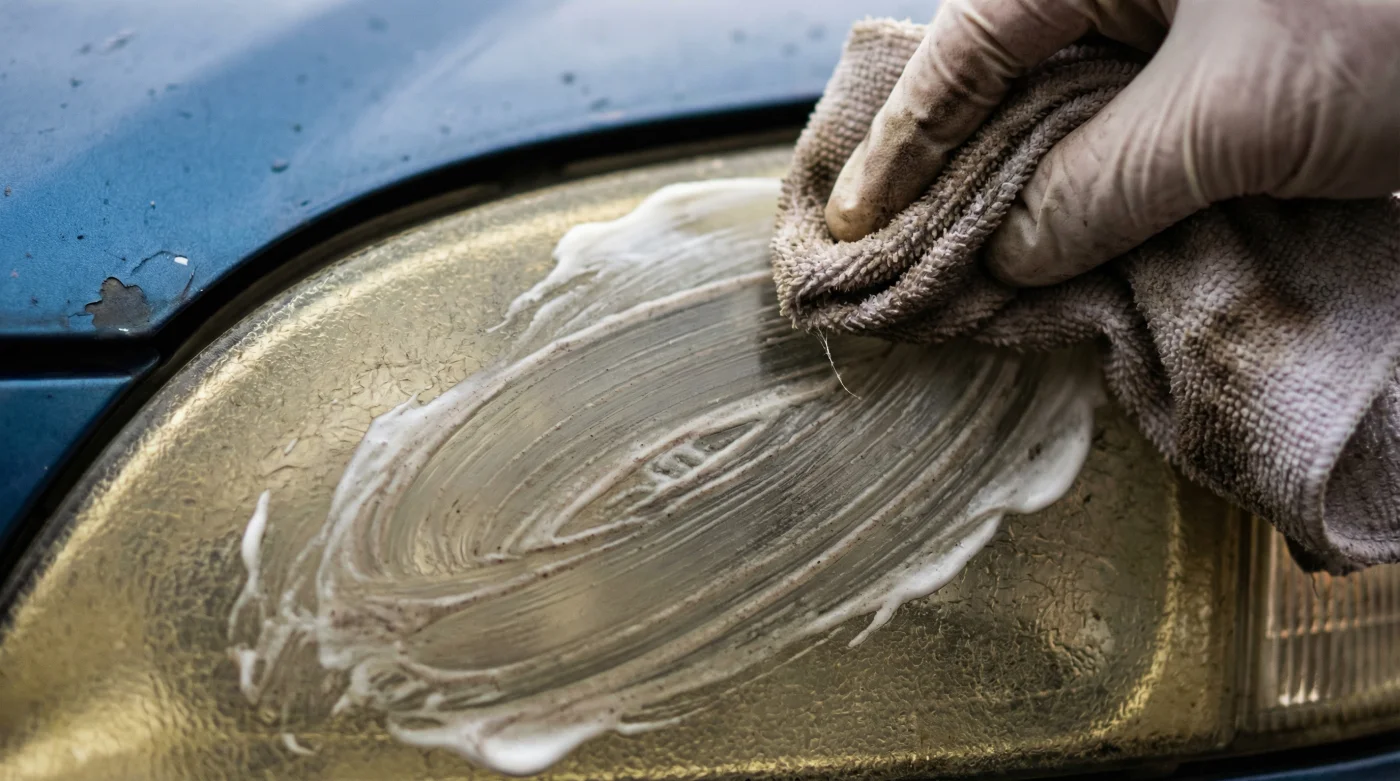
- Application: Apply a generous amount of toothpaste to the lens. Think ‘icing a cake’ rather than brushing teeth—you need substantial coverage.
- The Scour: Using a damp microfibre cloth, scrub the lens in small, tight circular motions. Apply firm, consistent pressure. Focus intensely on the yellowest areas, typically the top edge of the lens where UV exposure is highest. Continue this for 3 to 5 minutes per light.
- The Rinse: Spray with clean water and wipe away the residue. If the lens is still slightly foggy, repeat the process.
- The Seal (Crucial): Toothpaste removes the oxidation and the remaining factory UV coating. You must apply a wax or a specific UV sealant spray afterwards, or the lights will yellow again within weeks.
However, simply grabbing any tube from the bathroom can lead to disaster if you do not distinguish between the types of paste available.
Material Selection Guide
Not all dental products are suitable for automotive plastics. Modern gels often lack the abrasive grit required to cut through the oxidation layer. Use the table below to audit your bathroom cabinet before heading to the driveway.
The Paste Quality Matrix
| Product Type | Suitability | Why? |
|---|---|---|
| Standard White Paste | Excellent | Contains Silica or Calcium Carbonate grit. High efficacy. |
| Baking Soda Formulas | Good | Effective abrasive, but may require more physical effort. |
| Gel / Blue Striped | Avoid | Low RDA value. Mostly chemical cleaning agents, zero grit. |
| Charcoal Paste | Caution | Often too abrasive; black residue can stain rubber seals. |
| Whitening Paste | Superior | Usually contains higher levels of abrasives to polish enamel. |
Once you have selected the correct compound, it is vital to diagnose the severity of your headlight issues to manage expectations.
Diagnostics: When to DIY vs. Replace
While this method is effective for 90% of cases, structural failure of the lens cannot be fixed with toothpaste. Use this symptom checker to determine if your headlights are salvageable.
- Symptom: Uniform yellowing across the surface.
Cause: UV Oxidation.
Solution: Toothpaste Polish (100% effective). - Symptom: Milky white patches or peeling clear coat.
Cause: Clear coat delamination.
Solution: Requires heavy sanding (400 grit) before polishing. Toothpaste may take too long. - Symptom: Condensation or water droplets inside the lens.
Cause: Broken seal or cracked housing.
Solution: Replacement required. Polishing will not fix internal moisture. - Symptom: ‘Crazing’ (tiny spiderweb cracks).
Cause: Internal stress fractures in the polycarbonate.
Solution: Permanent structural damage. Cannot be polished out.
By correctly identifying the issue, you save time and ensure your vehicle remains road-legal for the UK’s demanding weather conditions.